Table of Contents
1. Lesson 13: Background art
1.1. Continuing on from Lesson 12
We are going to build on top of the Lesson 12 code, but you still might want to save it as a new program:
> save NEWNAME.lua
cart NEWNAME.lua saved!
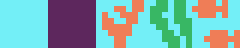
1.2. Creating more background art
In the sprite editor create more art for decoration. Whatever sea things you can think of!
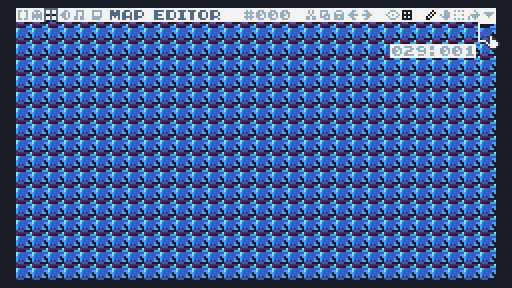
1.3. Map editor
Now press F3 to go to the MAP EDITOR. It will look weird at first because of all the fish, but you can use the down arrow to choose a brush and the pencil or fill tool to add things. Build out a map for your game here.
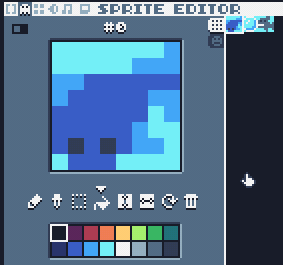
1.4. Setting sprite background colors
In our sprite editor, let's use the "dotted line" color as our transparent color. I'm going to fill-in parts that I want to be transparent with this color.
In the code, we will have to tell the spr function that this black
(color #0) is the transparent color:
-- Draw
cls(11)
spr(0,px,py,0)        -- Player
spr(1,bx,by,0)        -- Bubble
spr(2,sx,sy,0)        -- Shark
1.5. Setting the background in the code
Now we'll want to make sure to set the background when the game is
running. Instead of having cls(11), we can replace this with our
map: map(0,0).
-- Draw
map(0,0)
spr(0,px,py,0)        -- Player
spr(1,bx,by,0)        -- Bubble
spr(2,sx,sy,0)        -- Shark
print(pscore,px,py-8)
print(sscore,sx,sy-8)
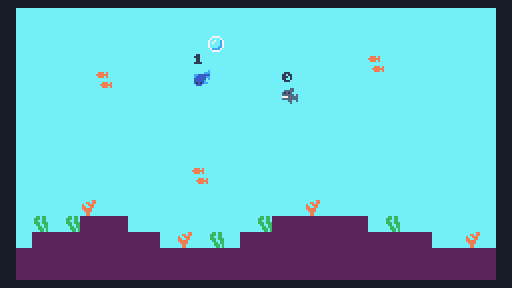
1.6. Testing
Now the game looks much nicer!
1.7. Challenges
CHALLENGES!
Can you use what you've learned so far to expand the game? Here are some ideas:
- Play a sound effect when the bubble is collected
- Add more art to the game
- Try out the MUSIC EDITOR and try to write a background song.
You can set the game song by putting
music( TRACK# )before the TIC() function (in the setup portion).
1.8. Save your work
Make sure to press the CTRL+S key, or press ESC to go to the
prompt and type save to save your work! If you want to access the
folder with your code, type folder.
If you have a USB flash drive, make sure to copy your file over so you don't lose it when the computer resets!